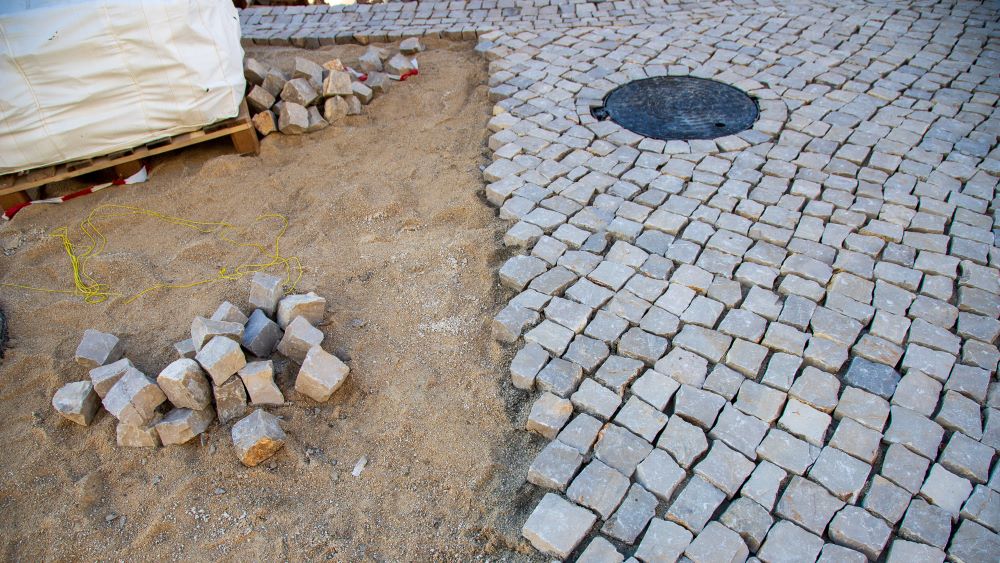
Uni-stone pavers are quick and easy to install, which means you can immediately use your new surface once they’re in place. These versatile pavers can be used in a variety of applications, from driveways and sidewalks to terraces and pool surrounds.
Interlocking paving stones have a life expectancy of over 30 years and high resistance to weathering and frost. They are also low maintenance: just use a bit of water to sprinkle them clean, or a high-pressure wash for stubborn stains.
In this article, our paving stone installation experts take you through the 9 stages of paver installation:
1. Prepare the area
Before you start installing the pavers, you need to prepare the area properly. Refer to municipal resources to check for underground lines, so you can avoid damaging hidden infrastructure.
Use stakes and string to mark out the area you’ll be paving. You need to precisely define the surface that needs to be excavated and the boundaries of the installation. Careful preparation is key to building a solid, stable foundation for your project.
2. Design the slope
Once the area has been defined, you need to create a gentle slope for drainage. A proper slope will prevent water from accumulating on the pavers. Use a spirit level to check the slope of the surface.
An appropriate slope helps prevent drainage problems and weed growth so your pavers last as long as possible.
3. Excavate
Next you need to excavate the area to a depth of about 12 to 20 inches to create a solid base. Excavation removes any layers of soil that could compromise the stability of the pavers.
Use a shovel to remove the soil, then a plate compactor to flatten the surface until it is even and firm.
4. Apply gravel
Spread a 6-inch-thick layer of gravel over the entire excavated surface is to provide a drainage base.
Compact the gravel with a plate compactor to make it smooth. Repeat this process until you have a gravel surface that is right depth. A uniform gravel base keeps pavers stable and makes installation easier.
5. Install edging
Paver edging plays a key role in defining and maintaining the shape of the paved area. Place it around the perimeter of the paved area and secure it with stakes.
Paver borders prevent individual pavers from shifting over time so that your paver pattern remains consistent. The result is a clean, long-lasting finish.
6. Apply a layer of sand
Add a layer of sand about 1 inch thick on top of the gravel. This sand layer makes it easy to align and stabilize the pavers, and provides a stable surface so that your pavers will be even.
Spread the sand evenly with a rake and adjust the depth as required.
7. Install the pavers
Place the pavers on the sand bed in the chosen pattern, making sure they are aligned.
Use a rubber mallet to hammer the pavers into place and eliminate hollows and offsets.
8. Compact the pavers
Once the pavers have been installed, use a plate compactor to apply pressure evenly over the entire surface. This compaction solidifies the pavers in place and fills any gaps between them.
Repeat compaction several times to create a stable and uniform surface.
9. Add polymeric sand
Finally, fill the joints between the pavers with polymeric sand. Spread the sand evenly using a broom, then use a blower to remove any excess.
You’ll need to add a bit of water to activate the polymeric sand so that it seals the joints, prevents weeds from growing and joins the pavers.
Installing interlocking paving stones requires careful attention to detail and solid preparation if you want a long-lasting, aesthetic finish. By following these steps, you can get professional, high-quality results.
Paving stone installation toolkit
- Shovel for digging and moving materials
- Tape measure and spirit level to make accurate measurements for perfect paver alignment
- Landscaping rake to level the ground
- Plate compactor to pack gravel and sand
- Rubber mallet and hammer to adjust pavers without damaging them
- Circular saw with concrete blade to cut pavers as required
- Wheelbarrow to transport materials
- Broom to clean surfaces before and after laying
- Hose to moisten the polymeric sand so that it hardens
- String and stakes to mark work areas.
Call on experts for effective paver installation
The installation of interlocking pavers is relatively straightforward, but doing the job properly demands a certain level of expertise and attention to detail. If you’re want the job done flawlessly, call on Nael Construction. Our dedicated paver installation professionals will carry out every step with precision, so you can enjoy aesthetically pleasing, durable results. We guarantee a perfect, long-lasting finish. Contact us to transform your outdoor spaces with top-quality interlocking pavers.